
Two Part Wedding Day Hair Tutorial | Hey Lovely Makeup | Style Me Pretty
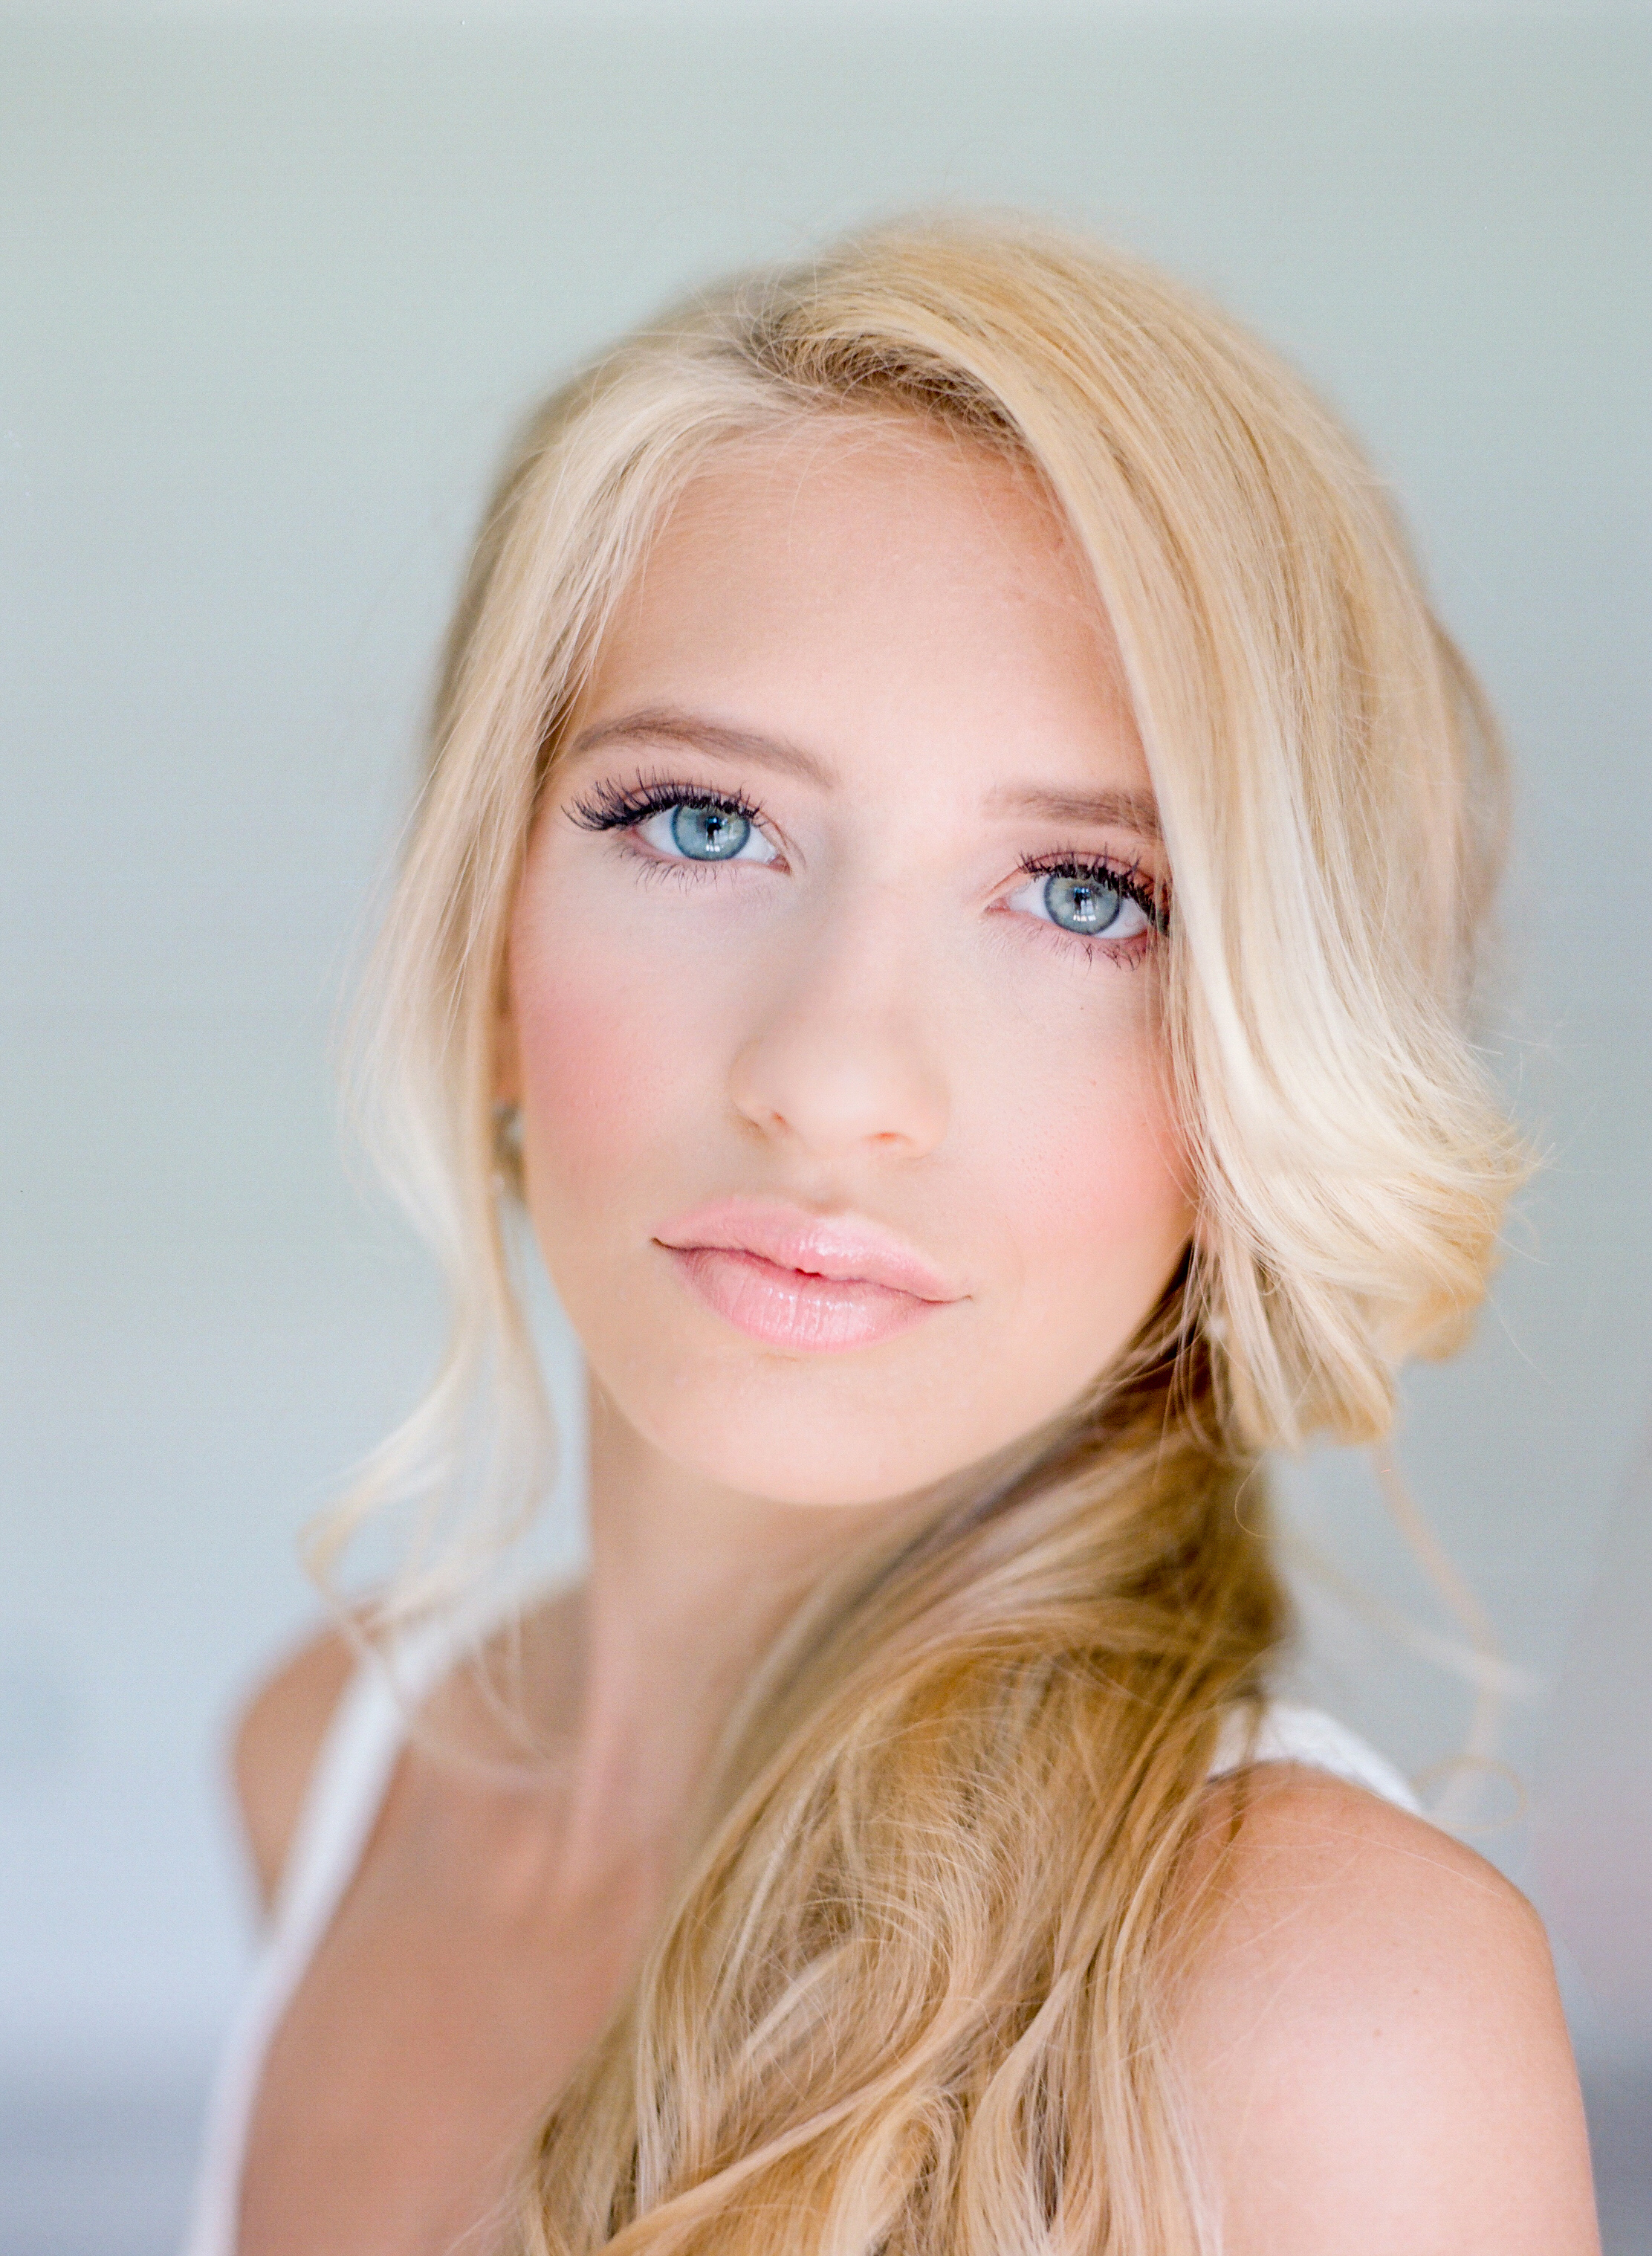
One thing that myself and Erica (owner of Hey Lovely Makeup) often see at weddings where we share the same client is that the majority of the time, a bride's hairstyle rarely stays fresh all the way through the reception. While brainstorming one day with a shared client who couldn't decide whether to wear her hair down or in an updo, we suggested that she wear her hair down through the end of the ceremony and then have her hair styled into an updo during the cocktail hour. Our sweet bride ended up going with the suggestion and it was perfect! Not only was she able to have two different hair styles, but also her hair was up and away from her face during the dancing as well as her hair being perfect and fresh for the pictures until the getaway!
Since it was such a success for our client, we decided to put together a tutorial for brides that are looking at doing the same thing in an easy step by step format!
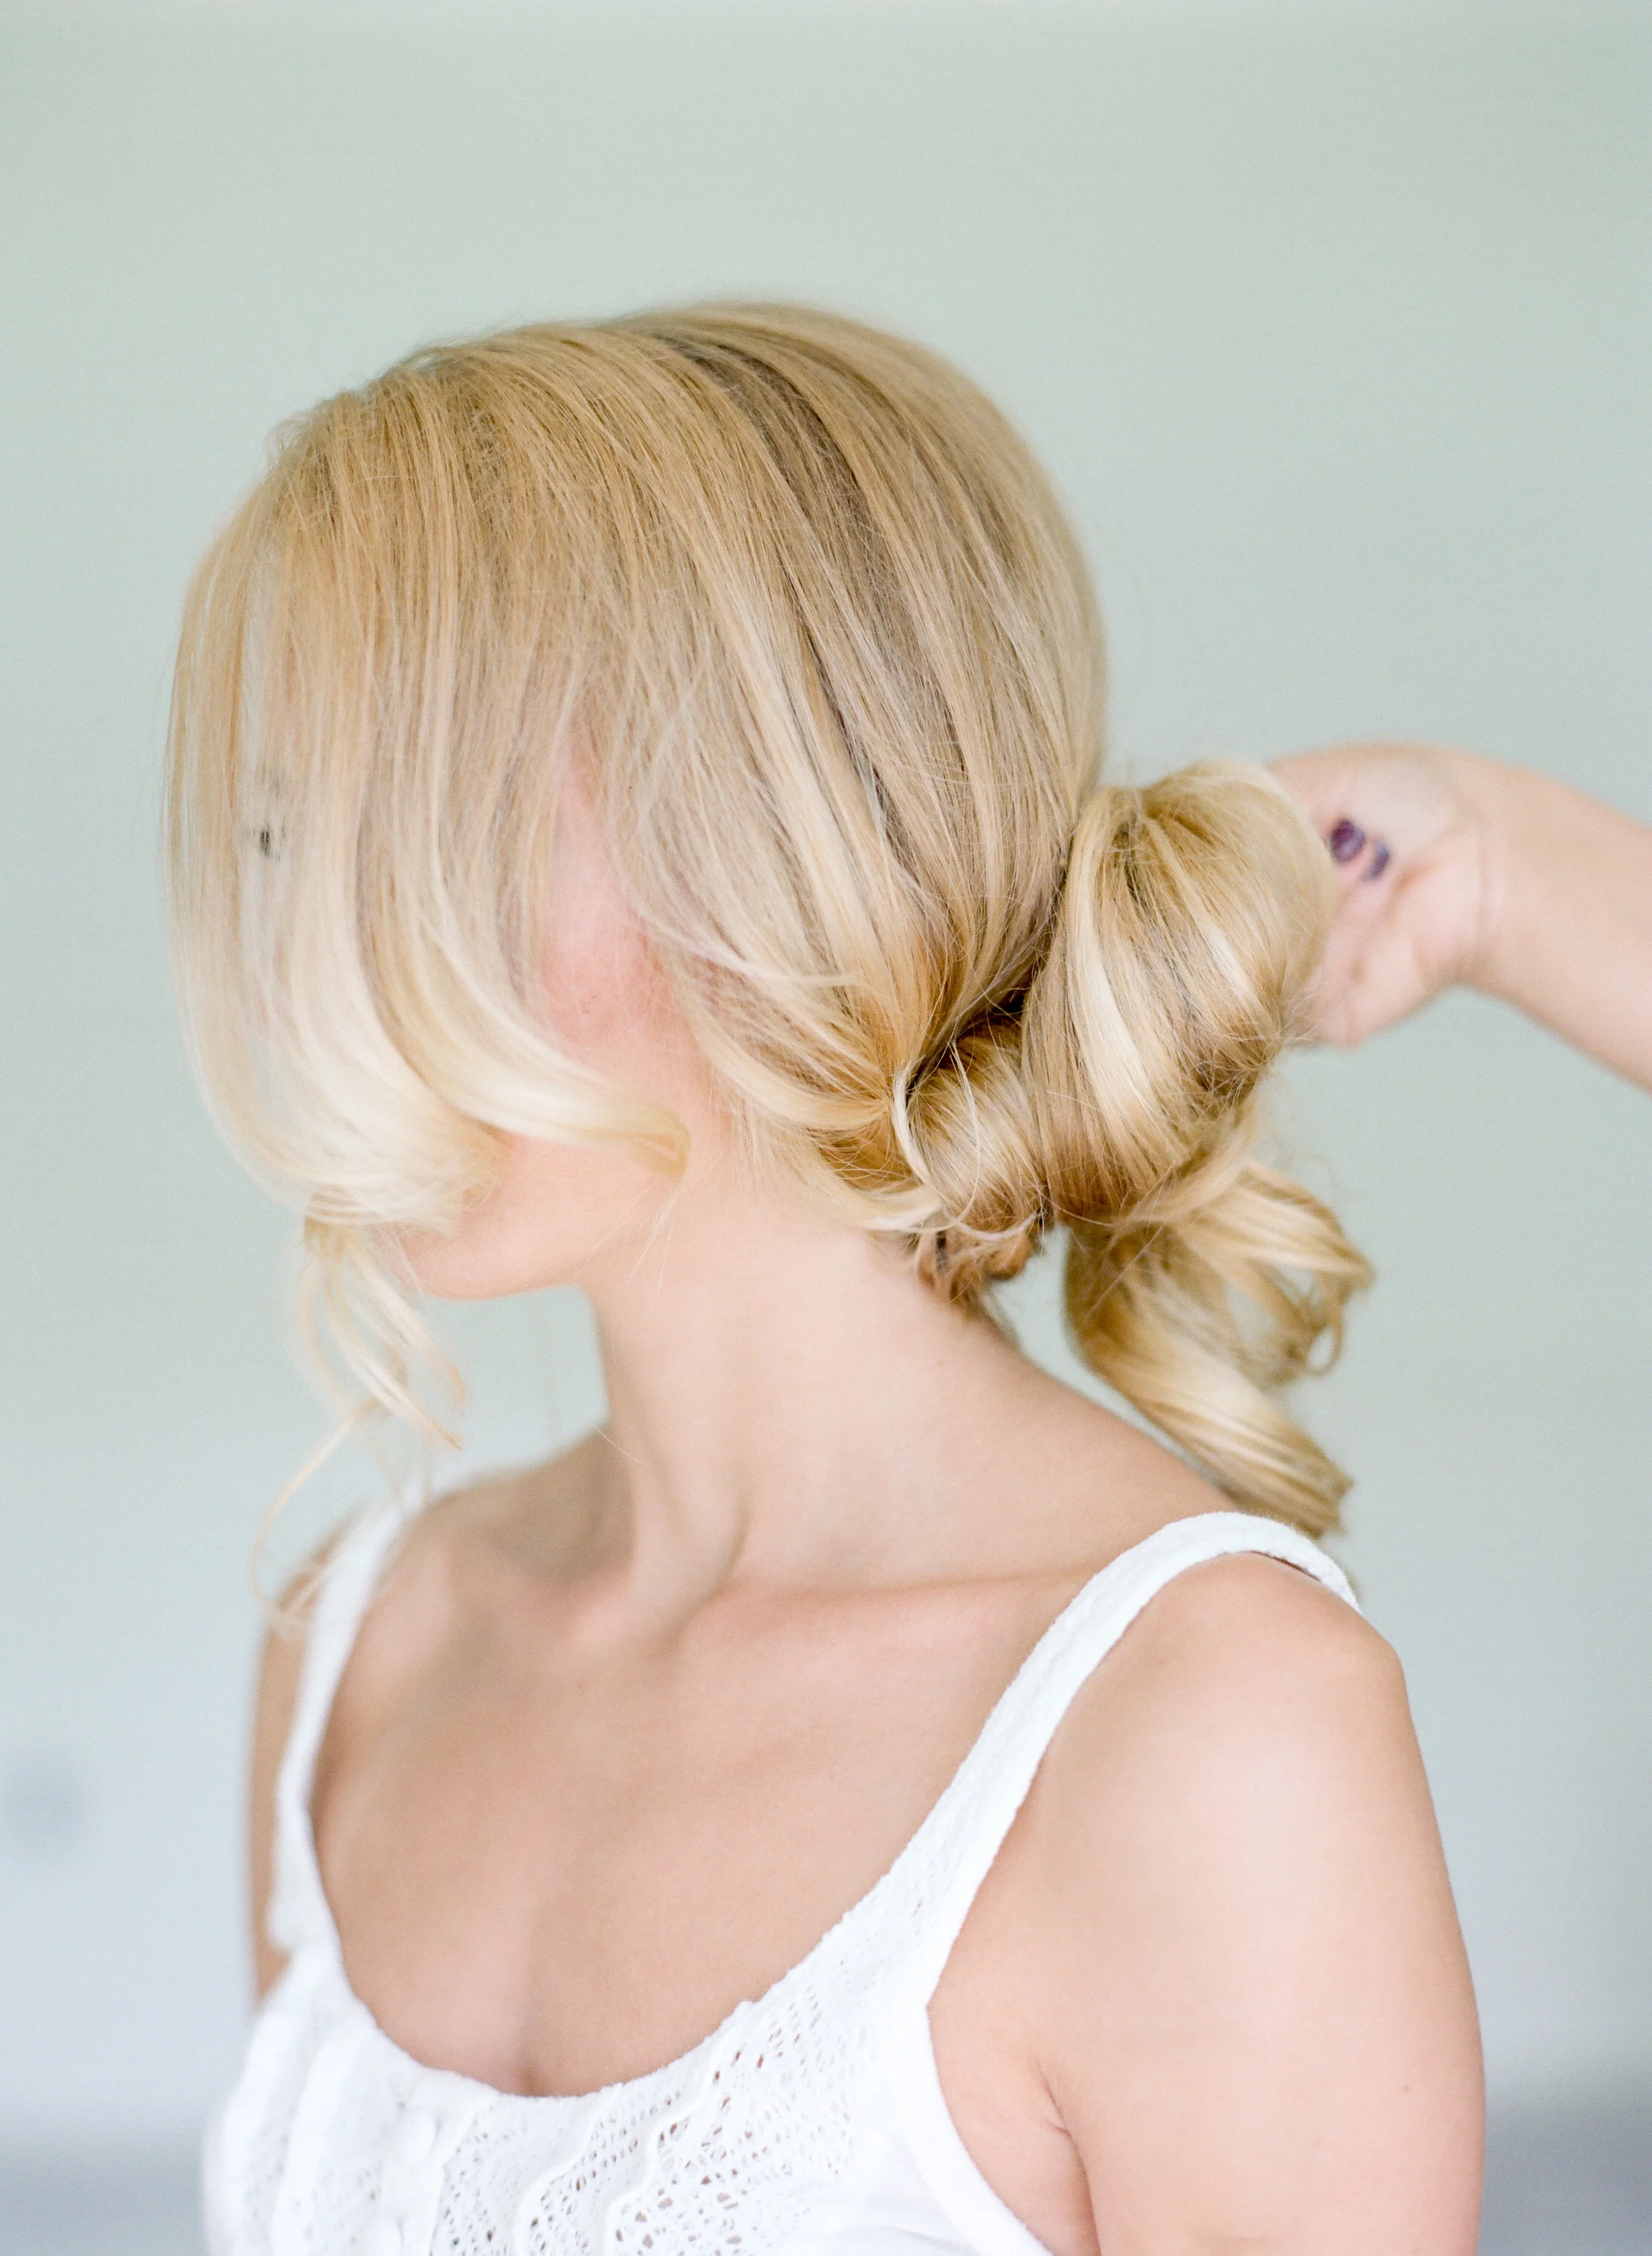
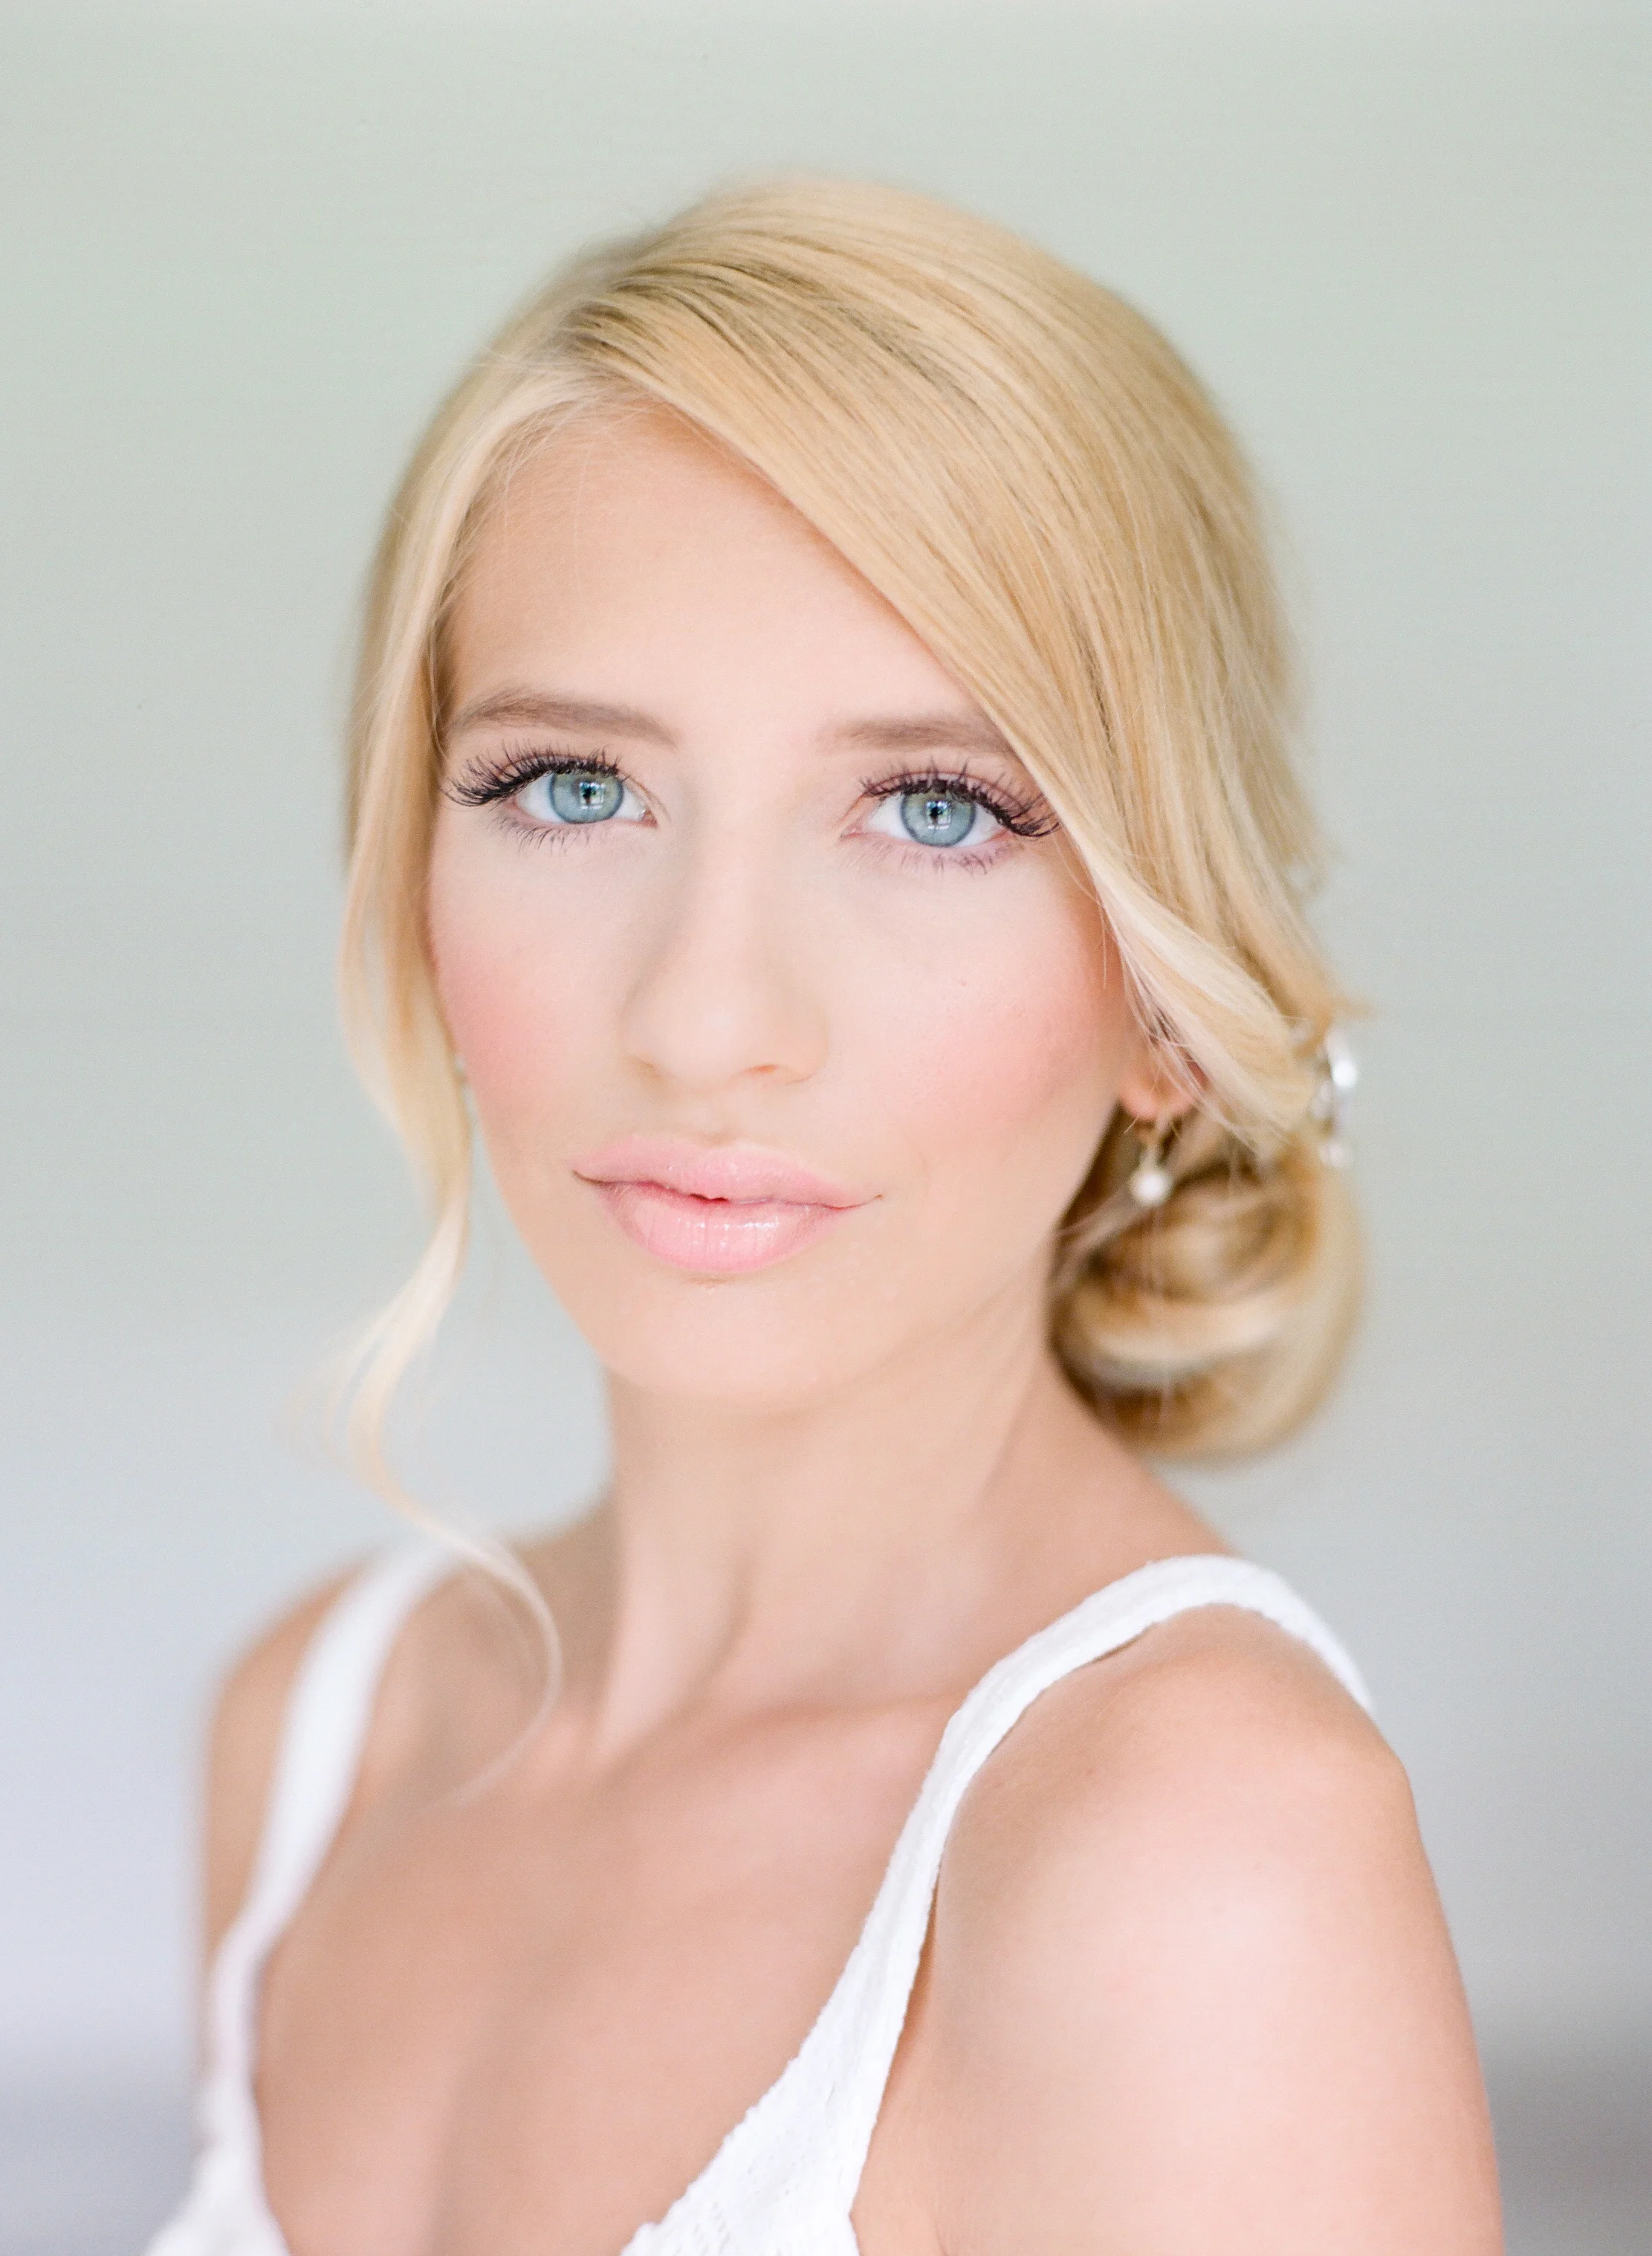
ROMANTIC SIDE-DO

STEP ONE | Part & Prep the hair with a dry texture spray
STEP TWO | Sweep hair to one side twisting from the bottom
STEP THREE | Pin the bottom twisted pieces of hair loosely

STEP FOUR | Twist a few front pieces away from the face meeting the other pinned pieces

STEP FIVE | Add a vintage hair pin or embellishment
And WAHLA! You're done! Now go take ALLLLL the pretty pictures and get married! The next "do" is once you are ready for the par-tay to start so you don't have to mess with your hair throughout the night with the added bonus that you now get two looks on your wedding day! #weddingdaywinning
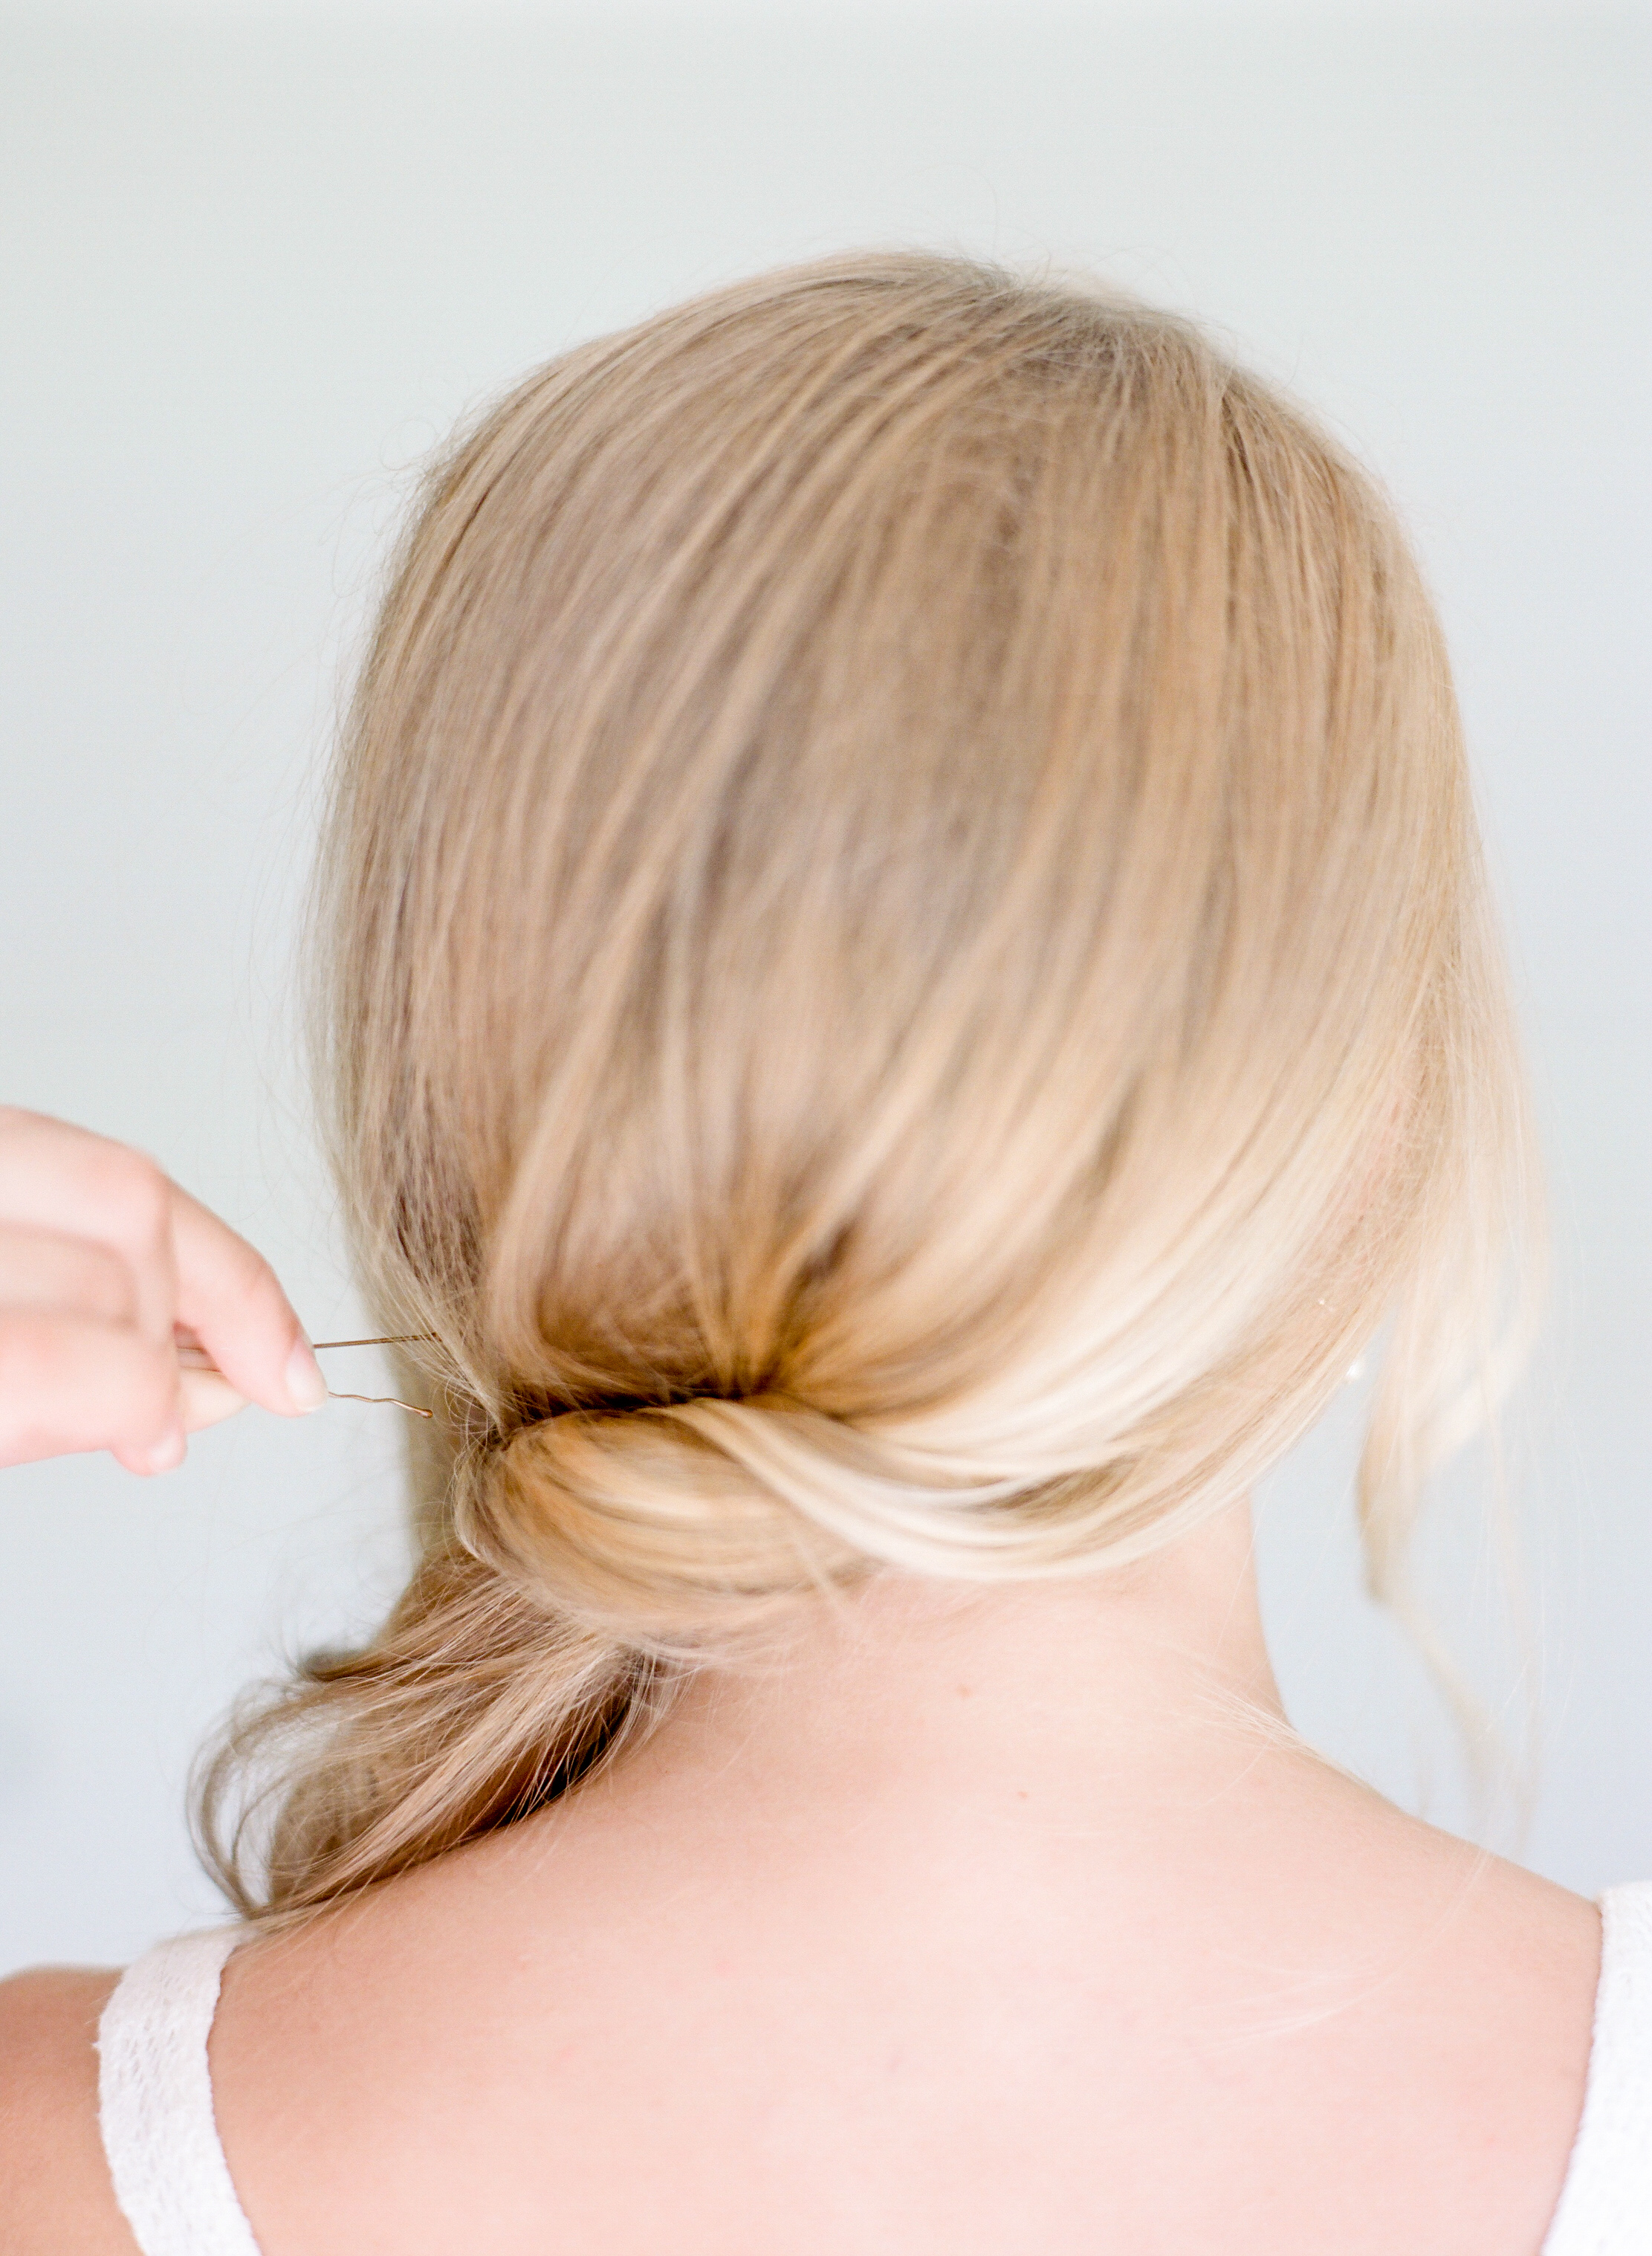
EFFORTLESS SIDE CHIGNON

STEP ONE | Gather hair in a clear elastic slightly off center

STEP TWO | Begin twisting hair away from the face
STEP THREE | Continue to twist and begin forming a bun around the clear elastic

STEP FOUR | Secure bun using bobbi pins

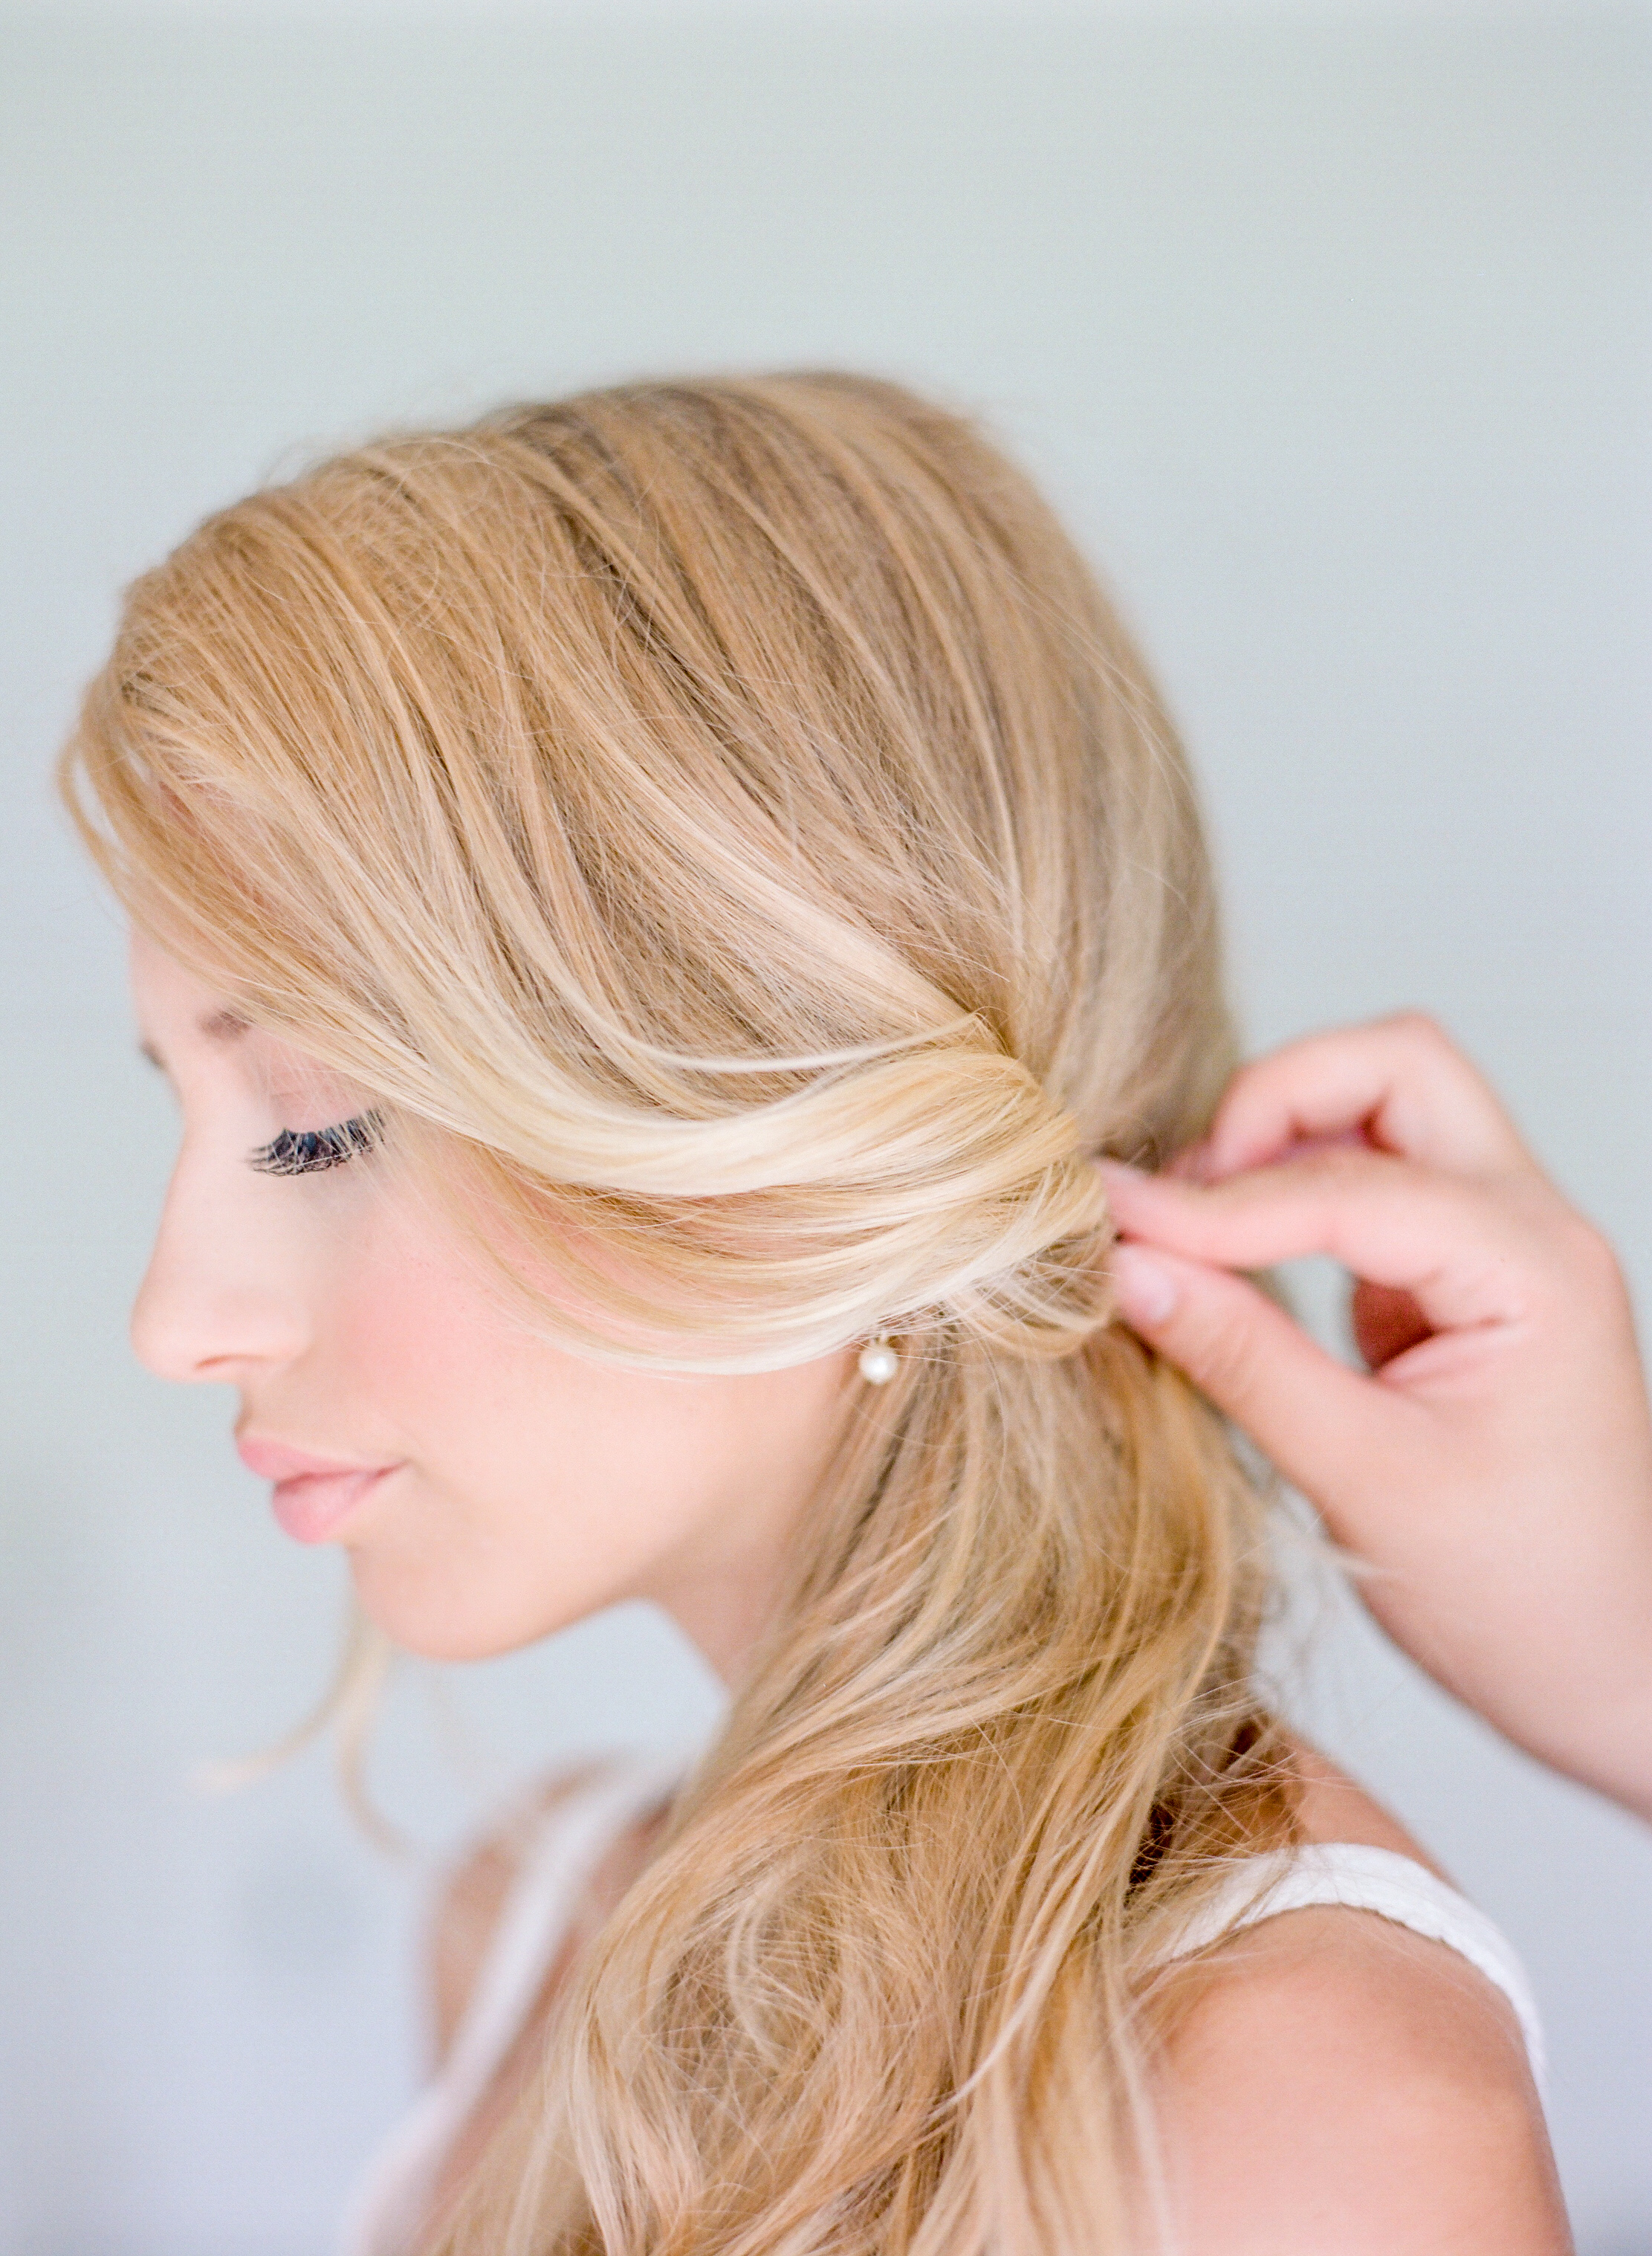
STEP FIVE | Pin loose ends leaving a few pieces out for a more effortless feel

OPTIONAL | Grab your favorite hairpiece!

OPTIONAL | Secure just above twisted bun for a touch of elegance

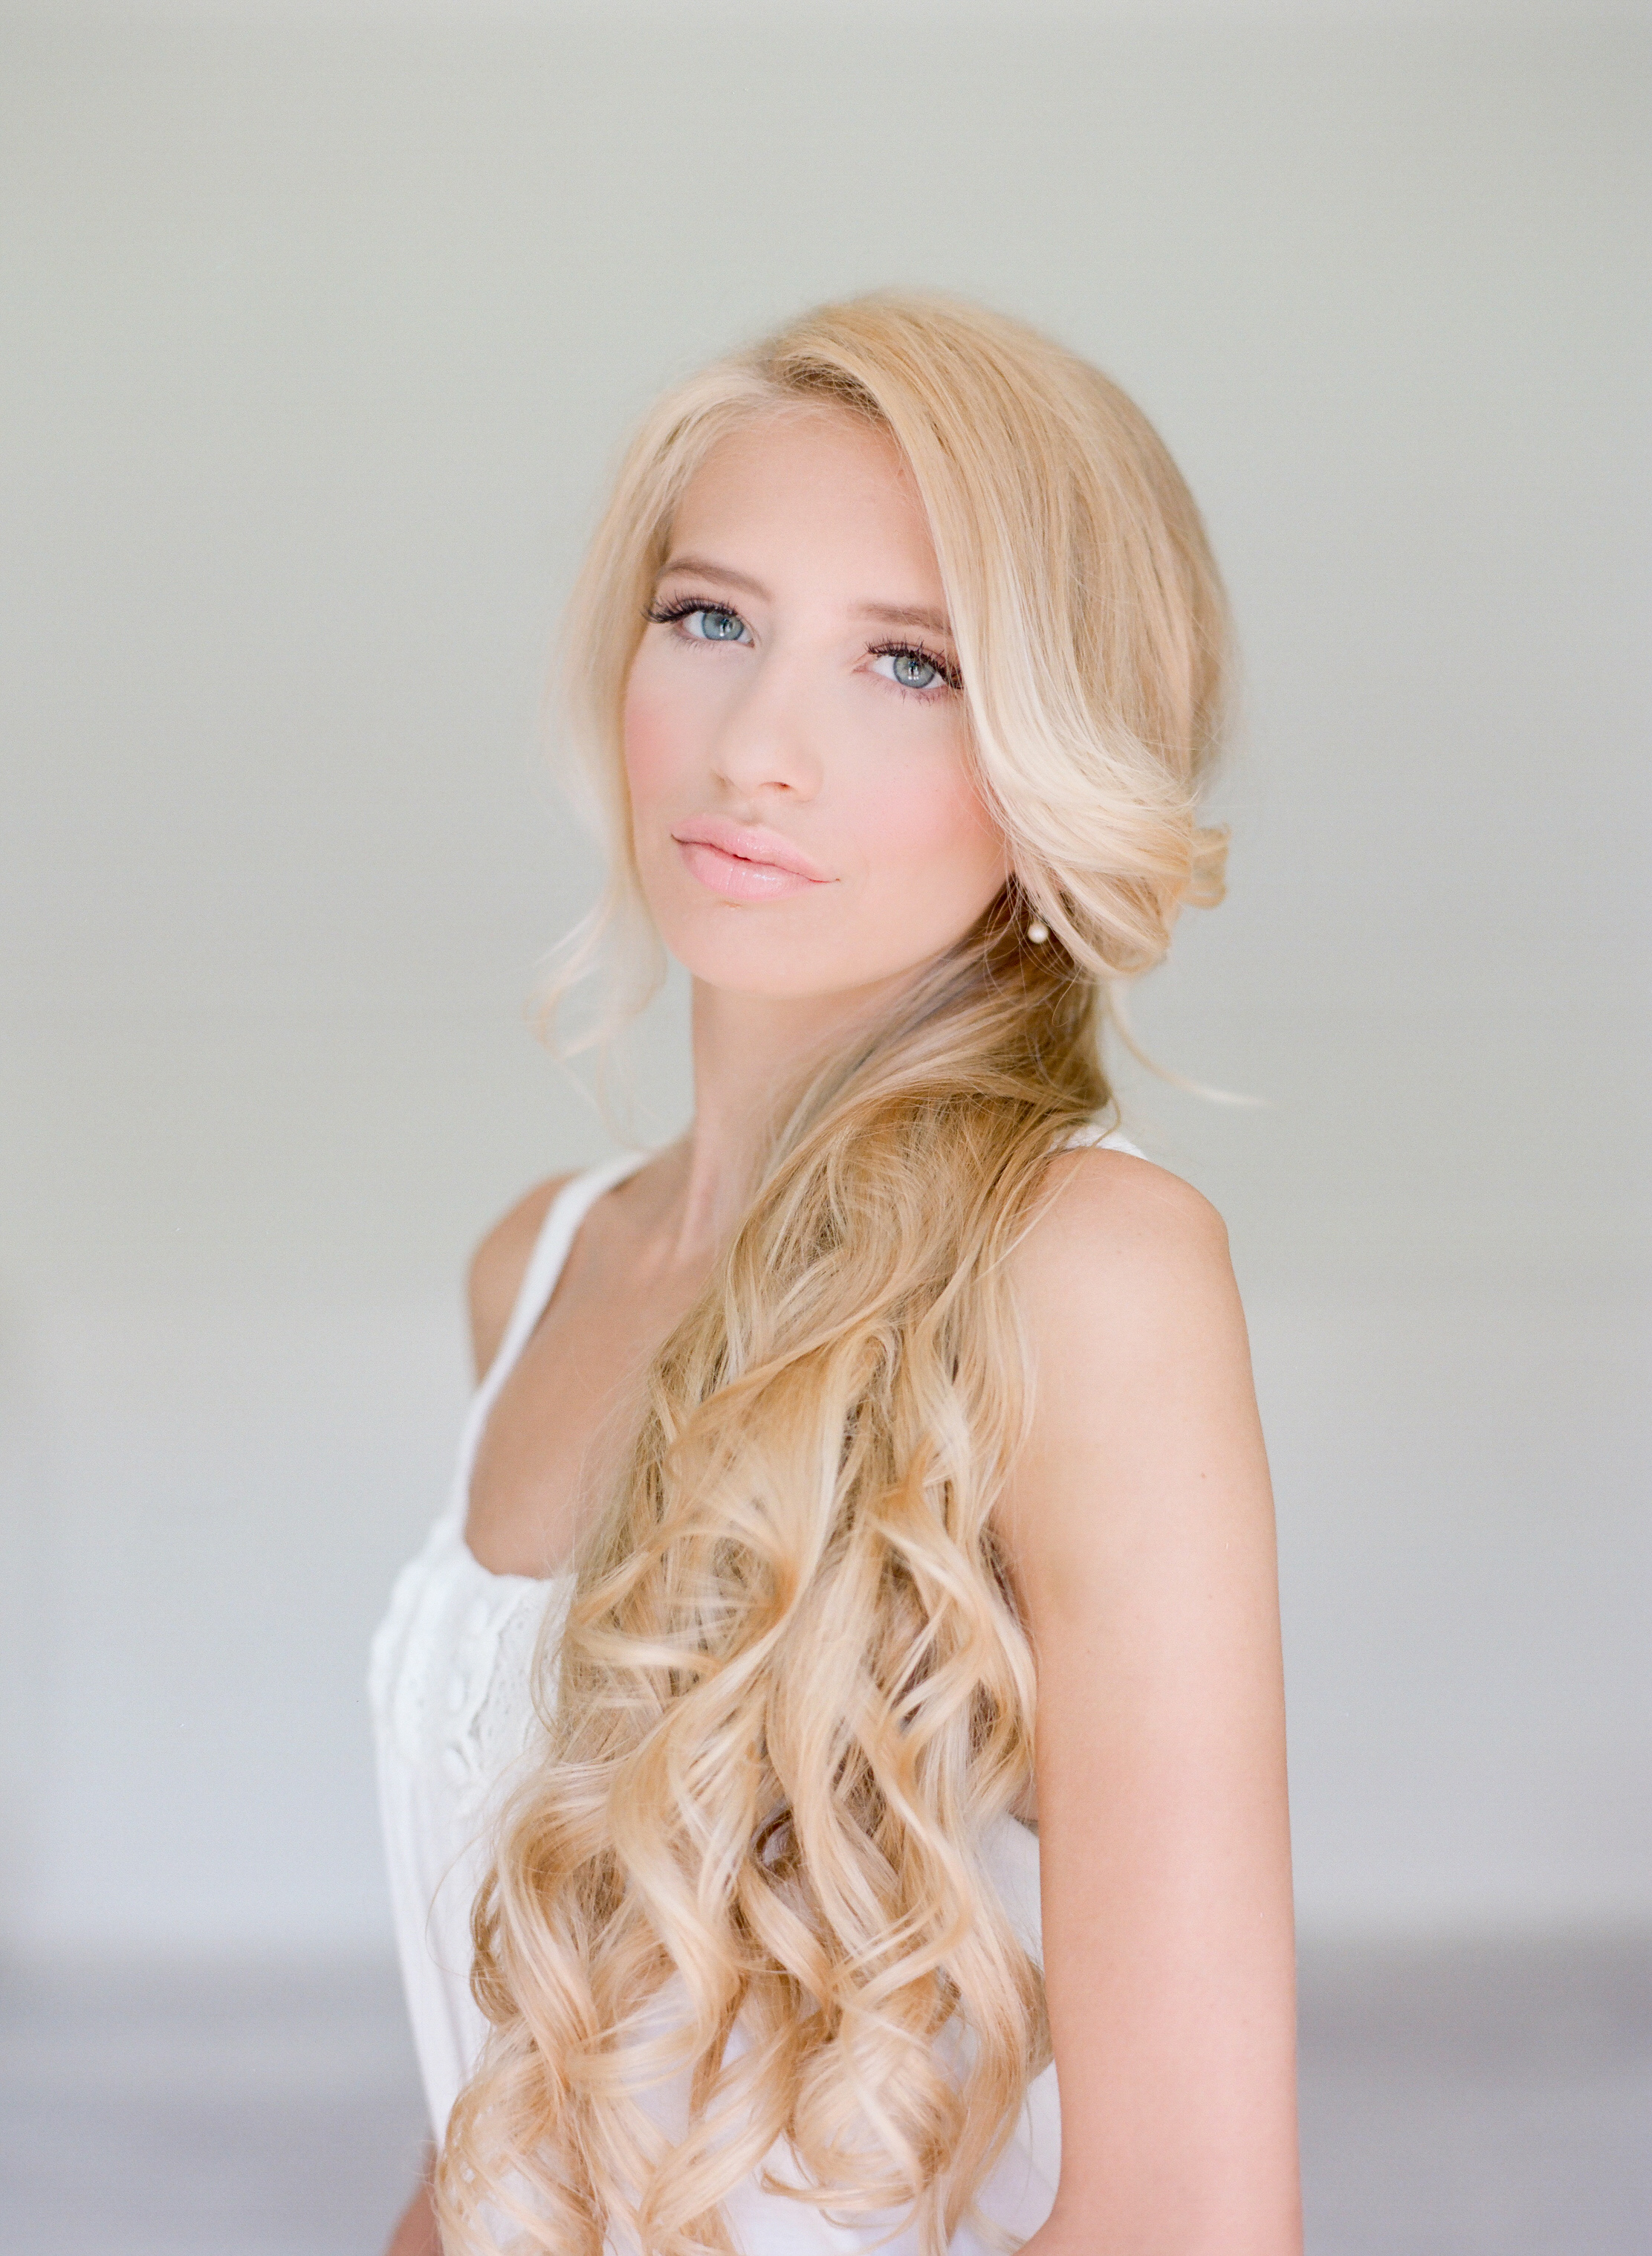
YAY! You're done! Super quick and easy! Now go dance your booty off!
Thanks so much to Style Me Pretty for featuring our tutorial! You can find the full publication here!
Concept + Hair + Makeup: Hey Lovely Makeup // Lab: The FIND Lab // Video Tutorial: Next Trail Photography